Getting Started with the ESP32 and and arduino IDE
So you’ve decided to get started with working on a micro controller, good for you, it can be an incredibly rewarding experience and can open up a lot of options for just messing around or for building something you can truly enjoy.
I know when I started this process there was a lack of information on how to do this as a beginner, a lot of knowledge was assumed that I just didn’t have, I will go from nothing to building some fairly complicated environments using as few pieces and as cheap pieces as I can, I found a lot of good deals were available on Temu (not an endorsement just my own findings) for cheap, reliable components although every country also has local suppliers who may have good deals.
This will be the first in a series of articles on how to set up and use a variety of electronics including breadboards, simple circuits, microcontrollers (A microcontroller is simply a electronics board with some kind of processor on it and usually some pins for you to plug things into and make them do things.) and coding, this first article will be preparing the environment for microcontrollers (other than the Raspberry Pi which will need its own series).
The first thing you will need to do is download and install the Arduino IDE (https://www.arduino.cc/en/software/)
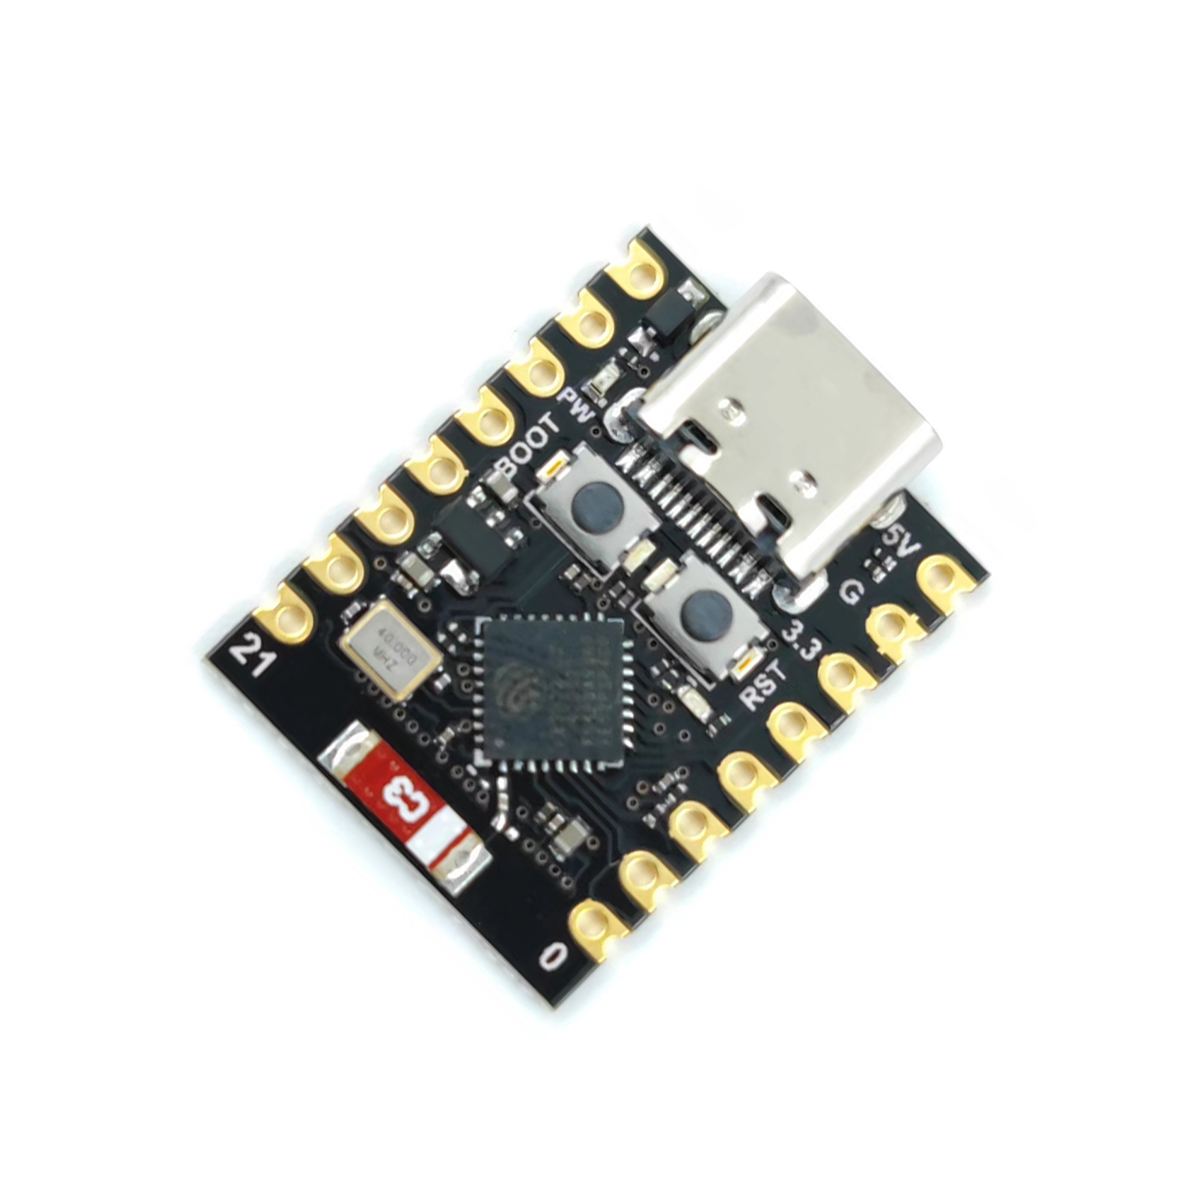
Connect the device to your computer for easier management and it should show up as a USB serial port, it is possible to work over bluetooth but this was easier for me (and I’m all about ease of use.), if it doesn’t show up immediately try pressing the boot button on the board to force it to redetect. You will have two buttons on the board one labelled boot and one labelled reset, reset simply resets the board as if it was just plugged in and boot does a more intensive boot process.
Once installed open the Arduino IDE and press ctrl-shift-b or click Tools->Board->Boards Manager, when I did this for the first time you are prompted to install some extra components. Once those are installed search for esp32 and install the expressif esp32 plugin.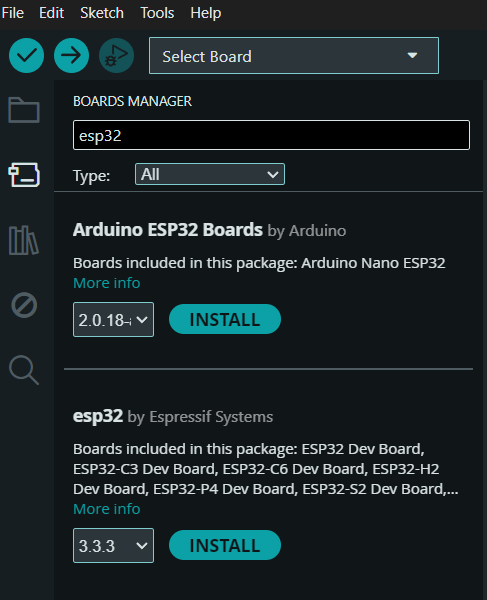
Wait for this to be installed, it can take some time. Once installed click the Select Board dropdown at the top
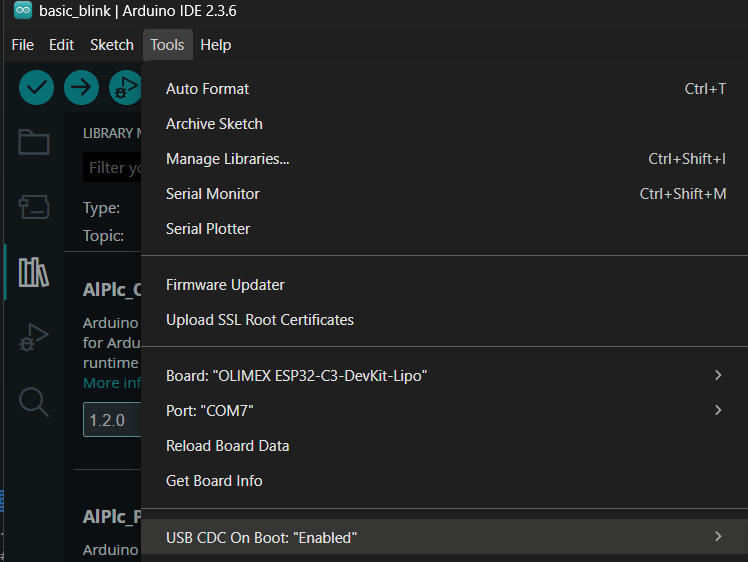
Click Select Other Boards and Port and type in esp32-c3 (in my case as I had a C3 board) choose the one that most closely resembles your board and port for me it was the OLIMEX ESP32-C3 board on COM7 Serial Port (USB) - this is important for later on to be able to view the serial port.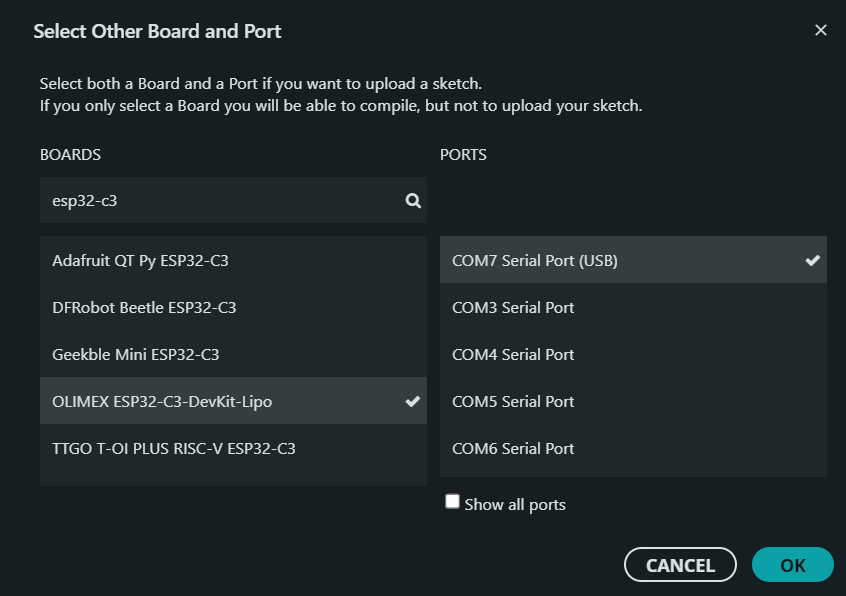
Click OK to save it.
Once connected you are ready to test the board and prove it works, Click on File->New Sketch, this will open a new window for you to build an application to send to your device, we will start with flashing the onboard LED, this is PIN 8 on my board but may be different for you, your documentation should tell you which it is.
A sketch is just a file which contains your code for uploading to your board.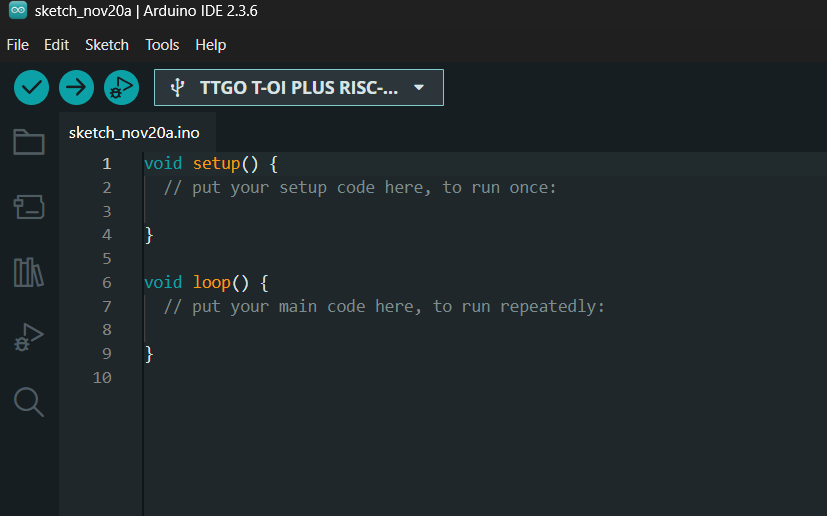
Now for the magic, replace all of the code in the window with the following:
1 | #include <Arduino.h> |
Press the tick and it will compile,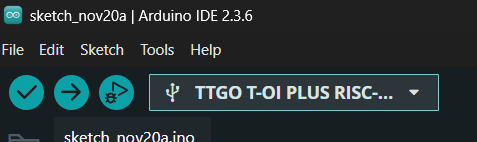
This is a good way to check everything is correct, if it fails the most likely things is that no board or a very generic board was selected and it doesnt know what processor type to build the code for.
Once complete it will tell you how much space it will take up on your board so you know how much headroom you have (you can fit a lot more on here than you think)

You can now click the right facing arrow next to the tick and this will upload it to your board, because this is done as a single workflow it will recompile the code before uploading. You should now see the onboard LED blinking.
You’re probably wondering about the println statements, this writes out to the serial console of the device as a form of troubleshooting, to see it you need to click Tools->Serial Monitor and then press the reset button on your device, this may work immediatly for you and you’ll see logs, for me I needed to enable JTAG USB monitoring, to do this click Tools->USB CDC On Boot and set it to enabled then re-flash your device.
You should now see logs appearing in your serial console, this is important for future projects to see whats happening.
Next time we will build a simple web server on the device to control the LED.